Today, we’re going to be talking about one of our favorite topics here at Orlando Food Truck Catering – food photography. Everyone loves to share drool-inducing photos, and these images are some of your best assets when it comes to successfully marketing what your truck and menu has to offer. Great photos can be used on your website, social media, and on even on your menus. It’s definitely worth it to get them done right. The following tips are designed for our do-it-yourself partners and can be applied whether you’re using a professional camera or simply your smartphone.
Choosing the right subject –
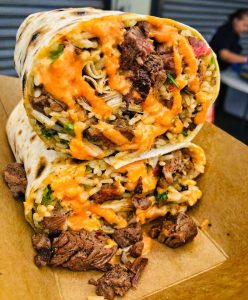
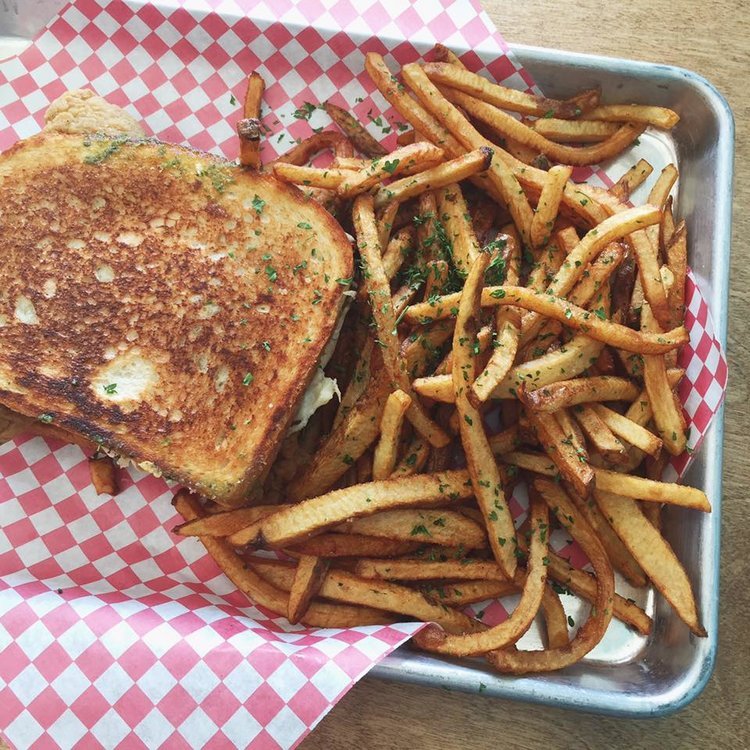
Not all food photographs equally. To start, choose menu items that have more dimension. Dishes that are liquid or gooey such as soup or lasagna are very challenging to capture in an appealing way, which means your best-selling menu item may not be the item you want to start with. Evaluate your menu for dishes that show off what is best about your truck. The picture to the right exemplifies having ‘texture’ in your pictures to make sure they truly pop.
Setting aside time to photograph –
Some truckers can take a quick snap as they dish up food on the truck in the middle of service and it looks great, but carefully plating a dish and setting up in good lighting is better accomplished when you have some extra time. We recommend setting aside a few hours to cook and photograph different, fresh dishes on your menu. Remember, these are pictures you want to be able to use in many different areas of your business. It pays to take the extra time to make sure the pictures look as best as they can.
Clean, spacious areas, are key to making sure your food is the main focus of each photo. Don’t forget to take photos of your truck itself so your prospective customers can connect the food they’ve been seeing with you at an event!
Lighting, Lighting, Lighting! –
You know how they say you can’t out-train a bad diet? It’s equally difficult to out-edit a poorly lit photo. Proper lighting is essential for great food photos. Ideally, you want to schedule your shoot outdoor in a place with plenty of natural light. Direct sunlight can be a little harsh and can cast shadows if not photographed from a flattering angle, whereas fluorescent lighting can result in haze and distorted colors. It’s important to find a balance. Ultimately, trust your eyes after taking the picture as to what works best and share them with friends to make sure you got the best photos possible.
Here are a few examples of photos with great, natural lighting:

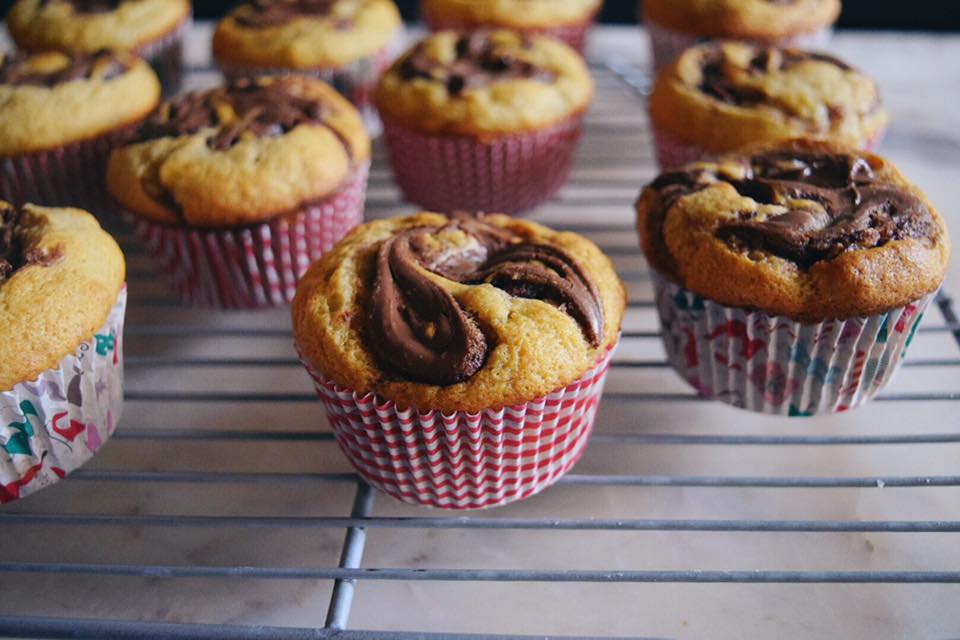
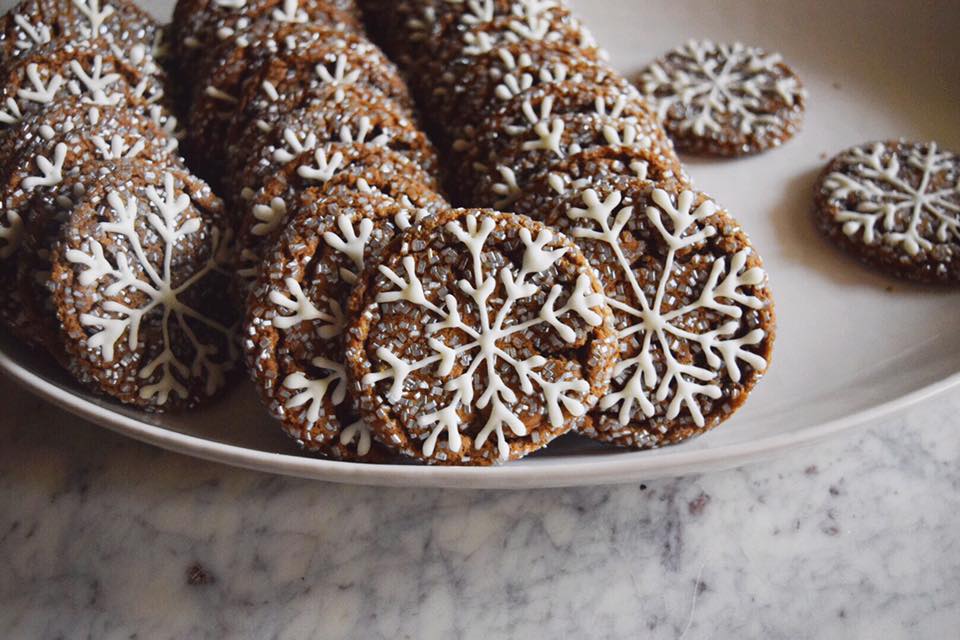
The sandwich and muffins above were taken indoors on a sunny day, next to a large window providing natural light with little to no interference from any artificial light inside.
 The tacos above were shot at night, outside on a patio under artificial lighting.
All of the shots above work depending on the look you’re going for (although I really don’t recommend trying to shoot at night!) The first thing to do when you begin to shoot is to find a place where the lighting is good, and will give you the effect you want. Take a couple test shots with everyday items before you start preparing, and remember the lighting in naturally lit areas will change depending on time of day. I knew a blogger who would photograph everything (dinners included!) in her kitchen at 10:30am, when she felt the lighting was at it’s best.
Now here are a couple examples of lighting to try and avoid:
The pictures of the pasta and coffee above were taken in restaurants in the daytime with some natural light, but primarily under artificial lighting. You can see there are some awkward shadows and reflections being cast, a warm orangey glow on the pasta, and actually the reflection of the overhead lighting on the pasta.
The photo above is staged fine, but was taken in a restaurant at night with low artificial lighting and edited to add some brightness. You can see the end result is really hazy.
The lighting on the fried chicken above is fine (natural light from a window, with some artificial lighting interfering) but the angle from which the photo is taken cast unwanted shadows.
5) Staging
As was briefly explained in the assembly tip – staging your plate for maximum appeal before you start snapping away is of the utmost importance. Plate carefully, and use a paper towel or Q-tips to clean up extra sauce, crumbs, and any wayward ingredients, spills or splashes. You want your completed plate/bowl/basket/container to look tight and neat.
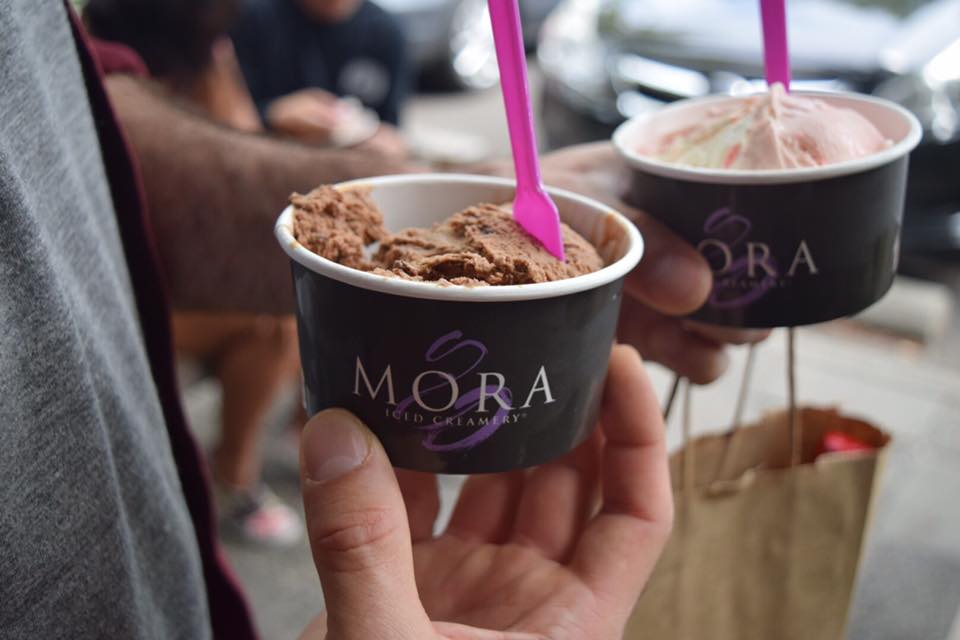
Also don’t forget what is around the plate. Ensure your dish is appearing on a clean surface, and that there is nothing too distracting in the background (or foreground) of the photo. The main focus should be your dish, and anything that is in the background or around your plate should lend some context that makes sense. For example, in the ice cream photo below, the cups were purchased while out shopping. The background is slightly blurred to show that the ice cream is the focus of this image, but the background adds context in a natural way that doesn’t look overly staged. If someone’s hand is holding your food, please make sure it’s clean and that there is no chipped nail polish. Consider leaving your truck, a menu with your logo, customers, your chefs, etc. in the background of some pictures.
You can get creative with staging if you’d like, not just photographing cleaned, completed dishes but parts of menu items coming together, or in progress. And you don’t have to be totally retentive, sometimes showing some of the ingredients used to make the dish, or a smear of sauce or spices on the side can lend a more organic, honest, I-just-made-this feel to your picture. These are all things to consider depending on the look you’re going for.
Also be sure to try taking your photos from several different angles so you have a selection when you go in to edit. Typically it can take anywhere from 5 to 20 shots to get the perfect “one” to post. When shooting, try out slightly different angles, lighting, backgrounds, props, etc.
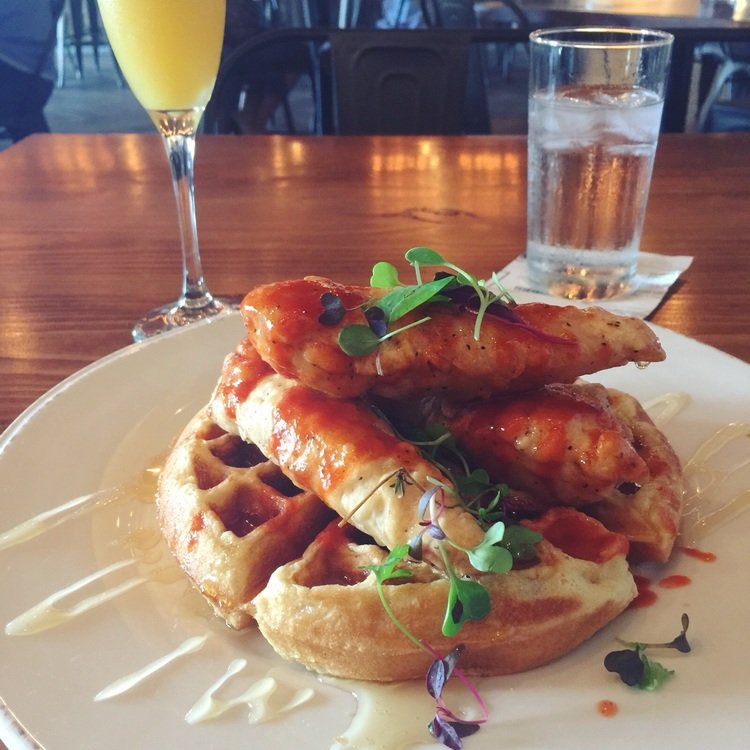
The chicken and waffles from two different angles – gives you a pretty different photo. Also note, these photos were taken at the same restaurant, in the same area of the restaurant as the “Bodega” photo above. The daytime lighting makes a huge difference!
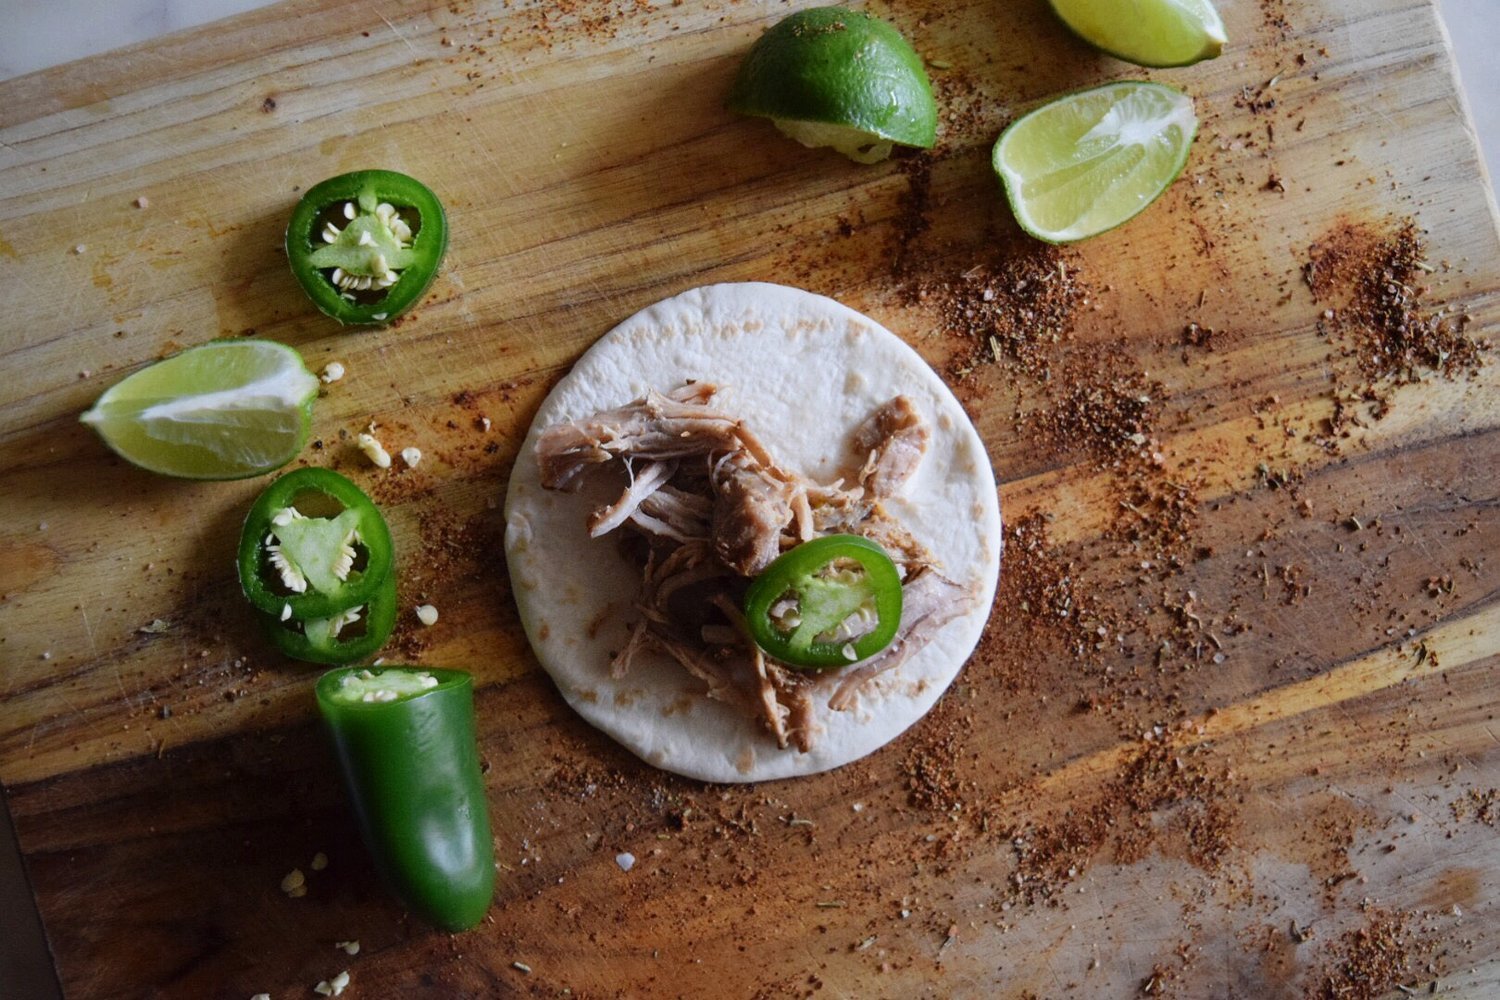
The taco above staged showing ingredients for assembly.
The brisket above shown more organically (sauce is naturally splashed) – about to be eaten.
Eating-in-progress showing what’s inside the quesadilla.
6) Editing
To add that perfect finishing touch to your photos, consider doing some minor editing. This can fix slightly-too-dark or bright lighting and add a little dimension to really make your photo look perfect. For your phone, we like Afterlight as an editing app, and Instagram also offers some great basic options. If using Instagram, you can also simultaneously share your image on Facebook and other platforms.
For more natural looking edited photos, avoid filters and instead play manually with brightness and exposure, contrast, shadows/highlights and sharpness. It’s not difficult, take some photos and just play with each one to discover what they do. Be careful and use a light hand with saturation, a great way to make your photos look over-processed or fake are colors that are just a little too bright. You’ll get a feel for the style of images you like as you experiment.
7) Continuity
This is optional, and slightly more advanced for consideration once you get the hang of things – but you’ll notice the best brands have some continuity to their images. Whether it’s the same style of lighting, repeated colors, or a similar setup/background, the images posted are all different, yet look like they belong to the same series. This is something to work toward once you find the style that best fits your truck.
Thanks for reading, and we hope this crash course in basic food photography helps with your everyday marketing!

